September 2024
Experience
Focus on: photographing gorillas with Ross Couper
in ExperienceShare:
Focus on: photographing gorillas with Ross Couper
Embarking on a gorilla trek is an exhilarating experience, offering a rare glimpse into the lives of these magnificent creatures. To capture these encounters effectively, without missing the moment, it's crucial to come prepared. Singita’s resident photographer Ross Couper has extensive experience photographing wildlife – where you have to be ready for action at a moment’s notice.
“After experiencing my first trek, I was completely prepared and yet, completely unprepared. I overthought everything. The night before, I was a mess, frantically Googling every photographer who’s ever set foot in Volcanoes National Park,” he says. To make your photographic journey smoother, here are some of the insights he gained, as well as technical tips he’s learned over the years – on what actually works best in the misty forests of Rwanda…
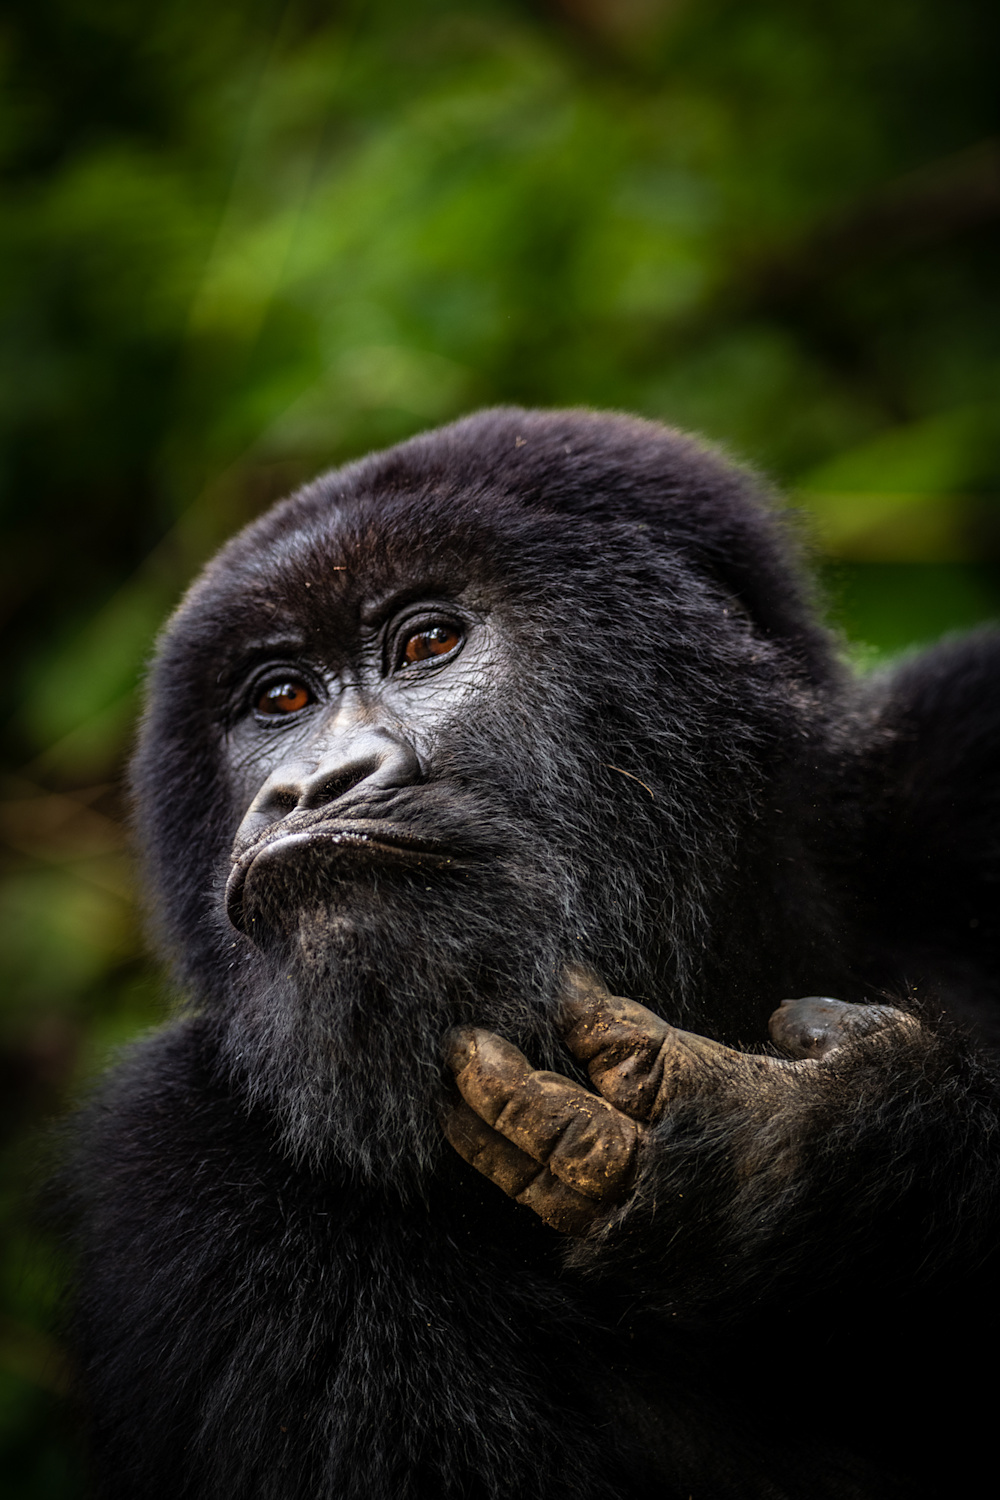
Ross Couper's many years of experience will help you navigate the challenges of photographing gorillas in their natural habitat
Practice makes perfect
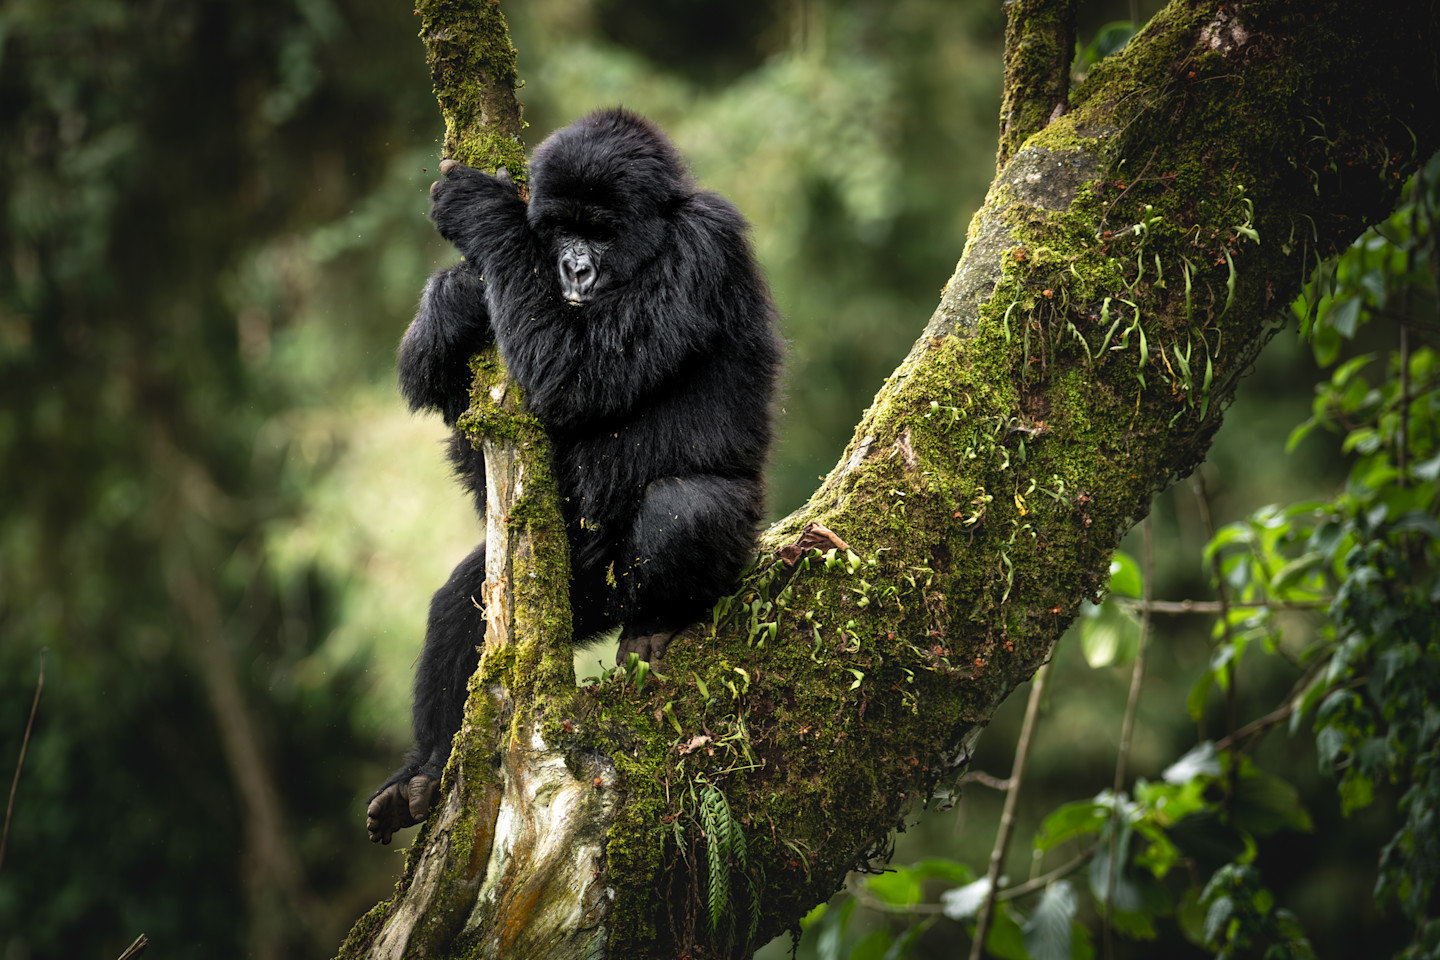
Get cosy with your gear before venturing into the jungle. Test out low-light environments to see if your camera can handle the forest’s dramatic flair. Gorilla treks typically take place among lush, dense vegetation where the light can be as moody as a teenager. And not only are you lugging around gear, but your subject might decide to play hide and seek or swing from vines. And just when you think you've got the perfect shot, the exposure decides to join in on the fun.
A good practice run is a late-afternoon dog park visit or stroll through a park at dusk to test out your settings and get familiar with similar low-light conditions.
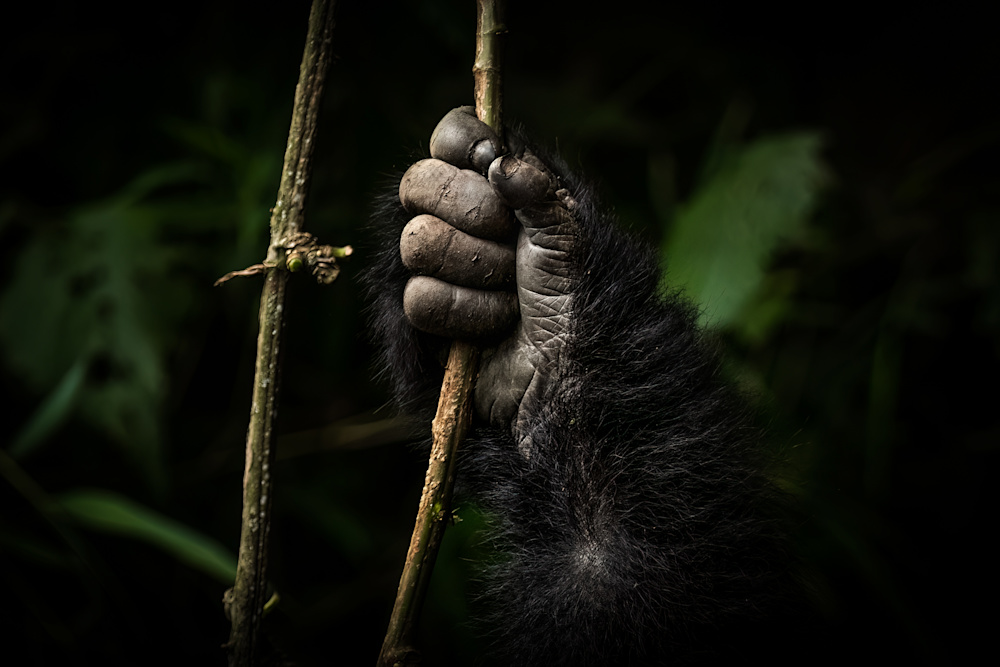
Do a test run in low light before your trip to experiment so that you can strike the right balance between moody and just lit enough
All the gear, and some ideas
What gear to take? This is very open-ended and the answer will be different for everyone based on preference, budget and level of expertise. Importantly, try not to overthink it – most of the digital cameras that have emerged in the last few years are capable of capturing an incredible image. What really makes the difference here is the lens. Coupling a telephoto lens with a focal length of 70-200mm or 100-400mm is ideal for capturing close-ups without disturbing the gorillas. Also consider lenses that have the lowest aperture (F-stop) as this will allow the opportunity for a stand-alone image in low-light conditions. Fortunately though, photographic editing programmes allow you to shoot at a higher ISO, especially if you have a slower lens – by allowing you to reduce noise caused by ISO afterwards. It’s worth familiarising yourself with some of these before your departure to better understand what you can achieve at a higher ISO.
To tripod or monopod your way into the jungle? I chose to shoot handheld – but due to the erratic movement of the gorillas and varied angles available, and uneven terrain, a monopod is preferable over a tripod, as it offers stability and is easier to manoeuvre (you won’t have time for a tripod setup whilst moving in the forest). A lightweight, sturdy monopod like the Manfrotto XPRO Monopod is a great choice.
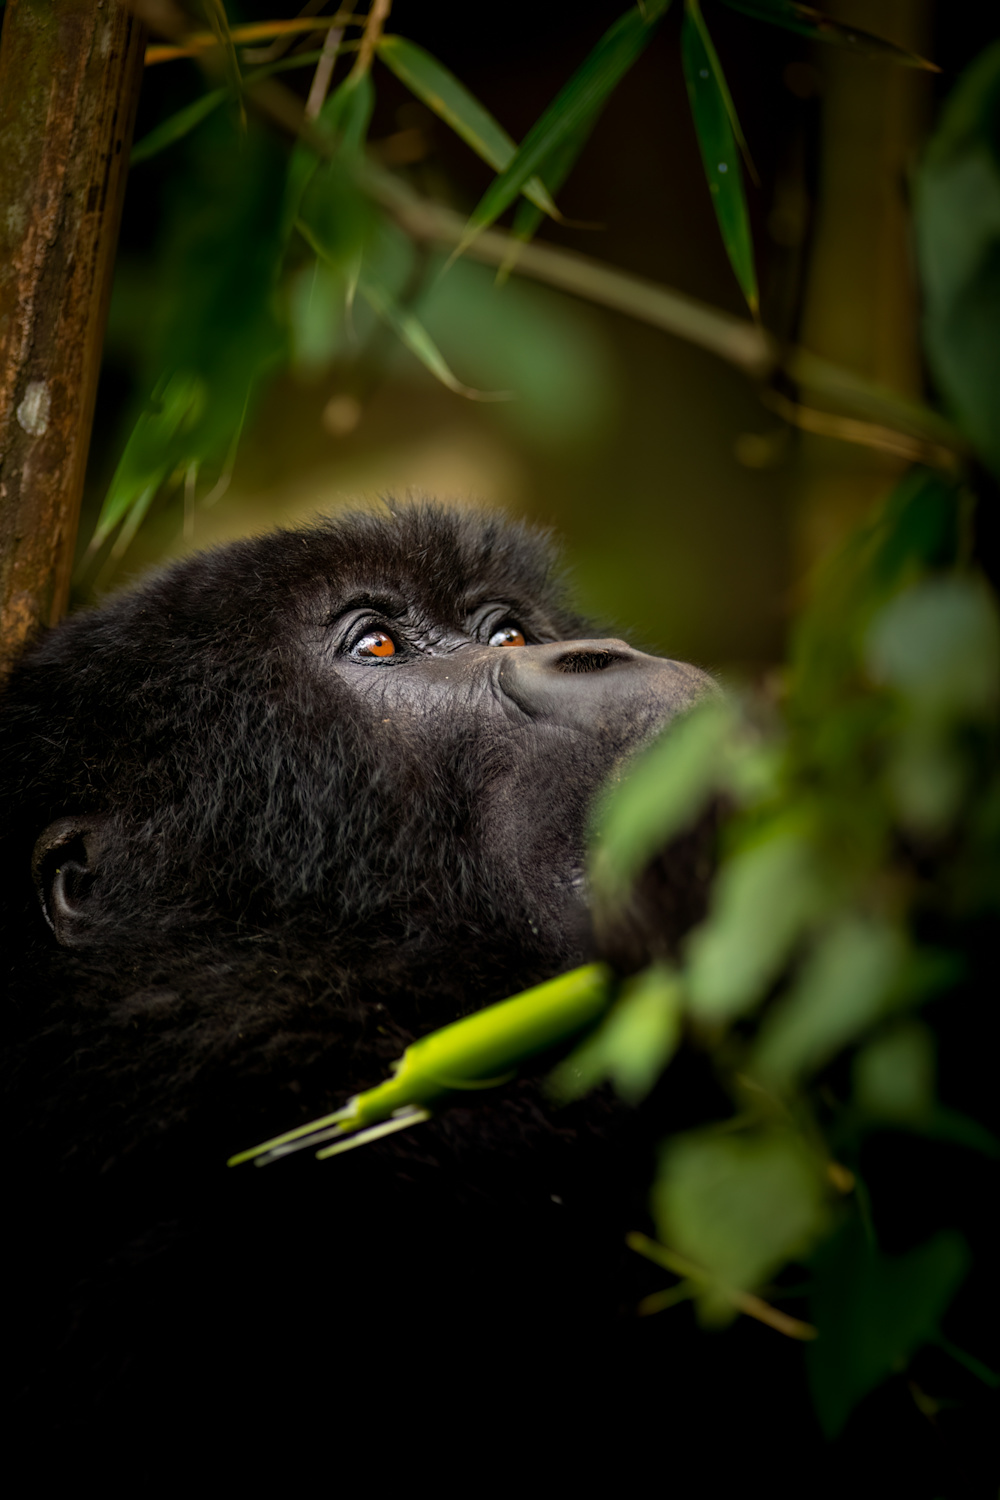
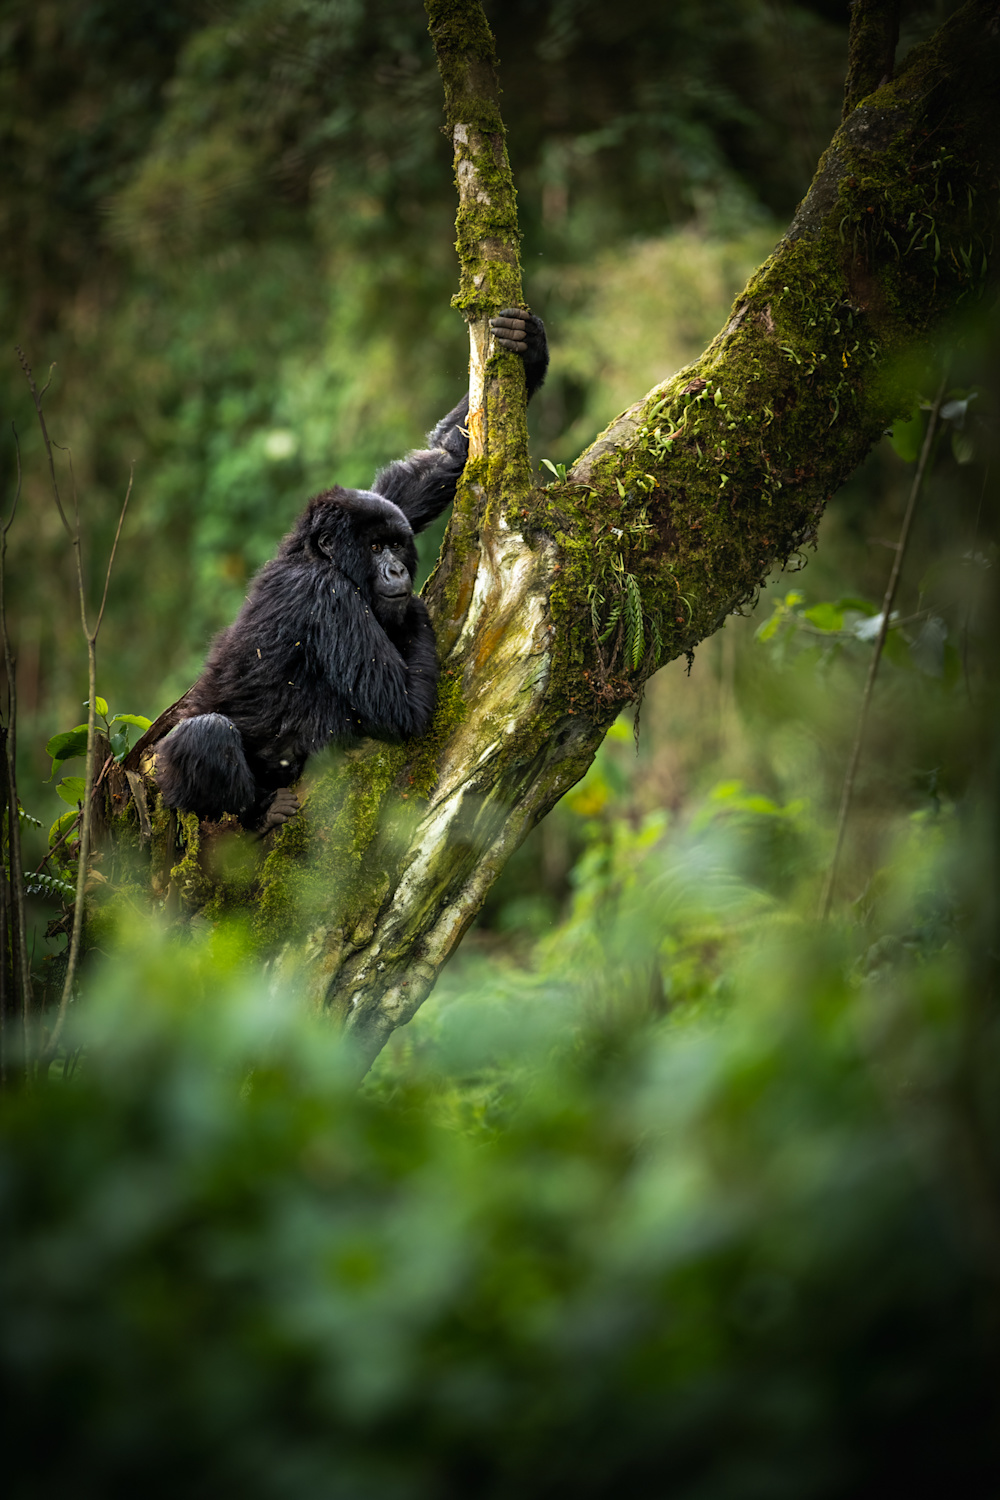
Play around with an editing programme to get an idea of how high you can push your ISO, as this will allow you to shoot more easily in low light
Prepare for the unexpected
If you are in the position to do so, bring two cameras (this is recommended for professional photographers) as switching between two lenses without delays will allow you shot versatility. Having a wide-angle lens to capture the broader environment and the gorillas’ lush habitat can add context to your images (a 24-70mm would be prefect for this). Gorillas sometimes pull a Houdini and completely ignore your presence, casually strolling within metres of you – cue a mad scramble to yank your phone from your pocket in time.
On this note, don’t underestimate your mobile phone, you will be using this piece of equipment more than you can imagine. Keep it fully charged, and the lenses on it clean to ensure crisp images that sometimes outperform a camera. A helpful point here – set your mobile phone camera’s exposure to -3 beforehand. This will ensure you avoid over exposing images and bring some contrast into your image.
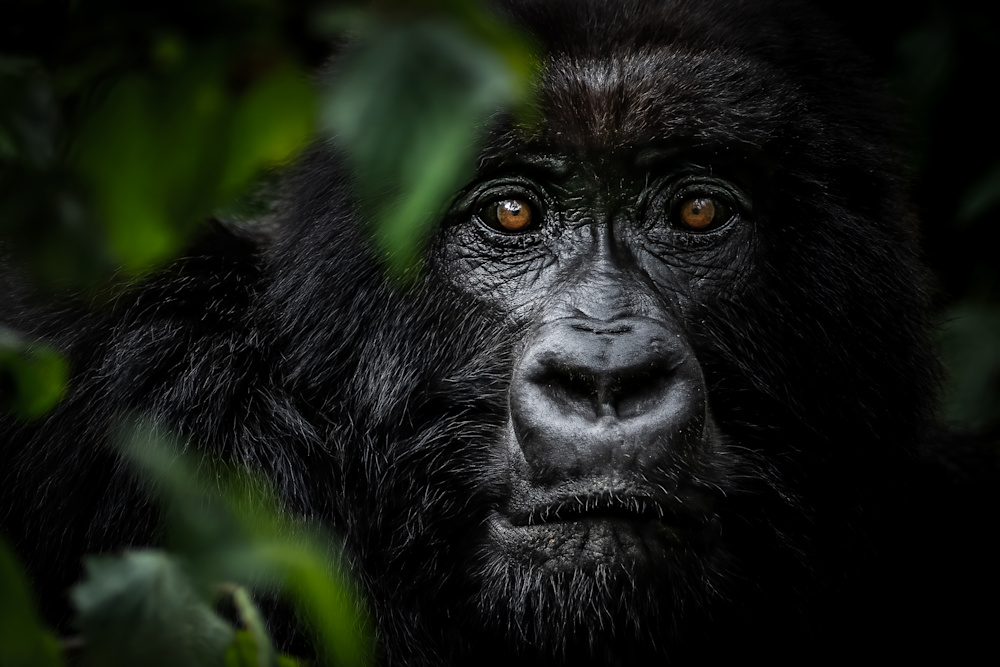
Don't forget that your phone camera is also a powerful tool to catch those moments where there's less warning
Nitty gritty
Now for the grit of this blog piece – what camera settings to use? If you are inexperienced, rather don’t overcomplicate the process, and set your camera to auto mode, as it could have a negative impact on your experience if you’re too engrossed in your equipment. If you would like to try something more technical – this next bit is for you.
ISO: Use a higher ISO setting (800-1600 or higher) to accommodate low-light conditions in the forest. There will be an occasion that a gorilla family moves into dappled light and then it will become much brighter. This is when you reduce your ISO and ensure that your shutter speed is adequate to your subject’s movement.
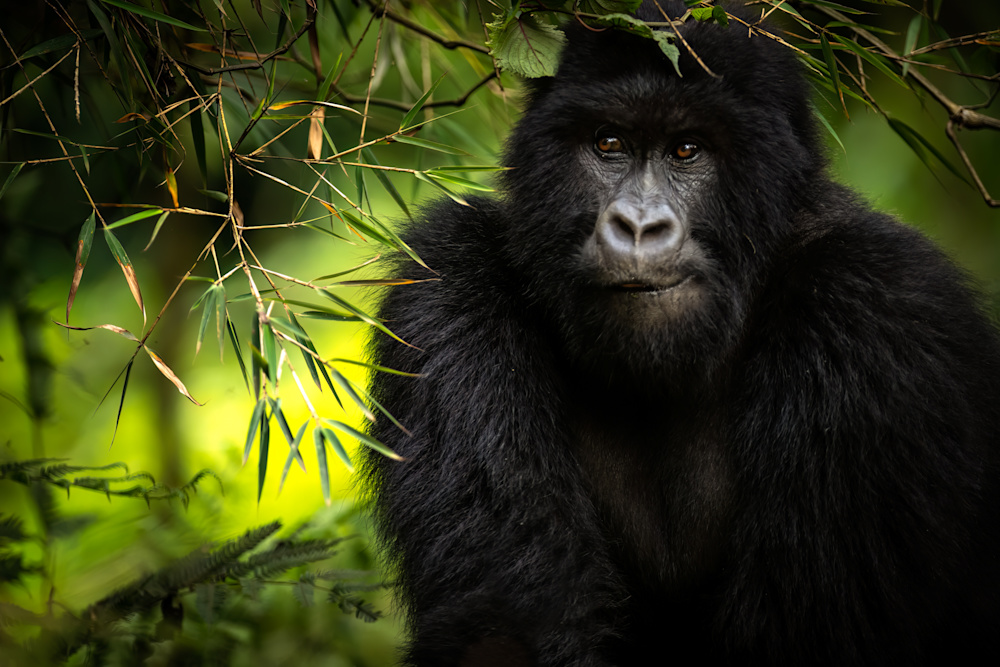
The basic functions on your camera – ISO, shutter speed and aperture are the ones you need to bear in mind
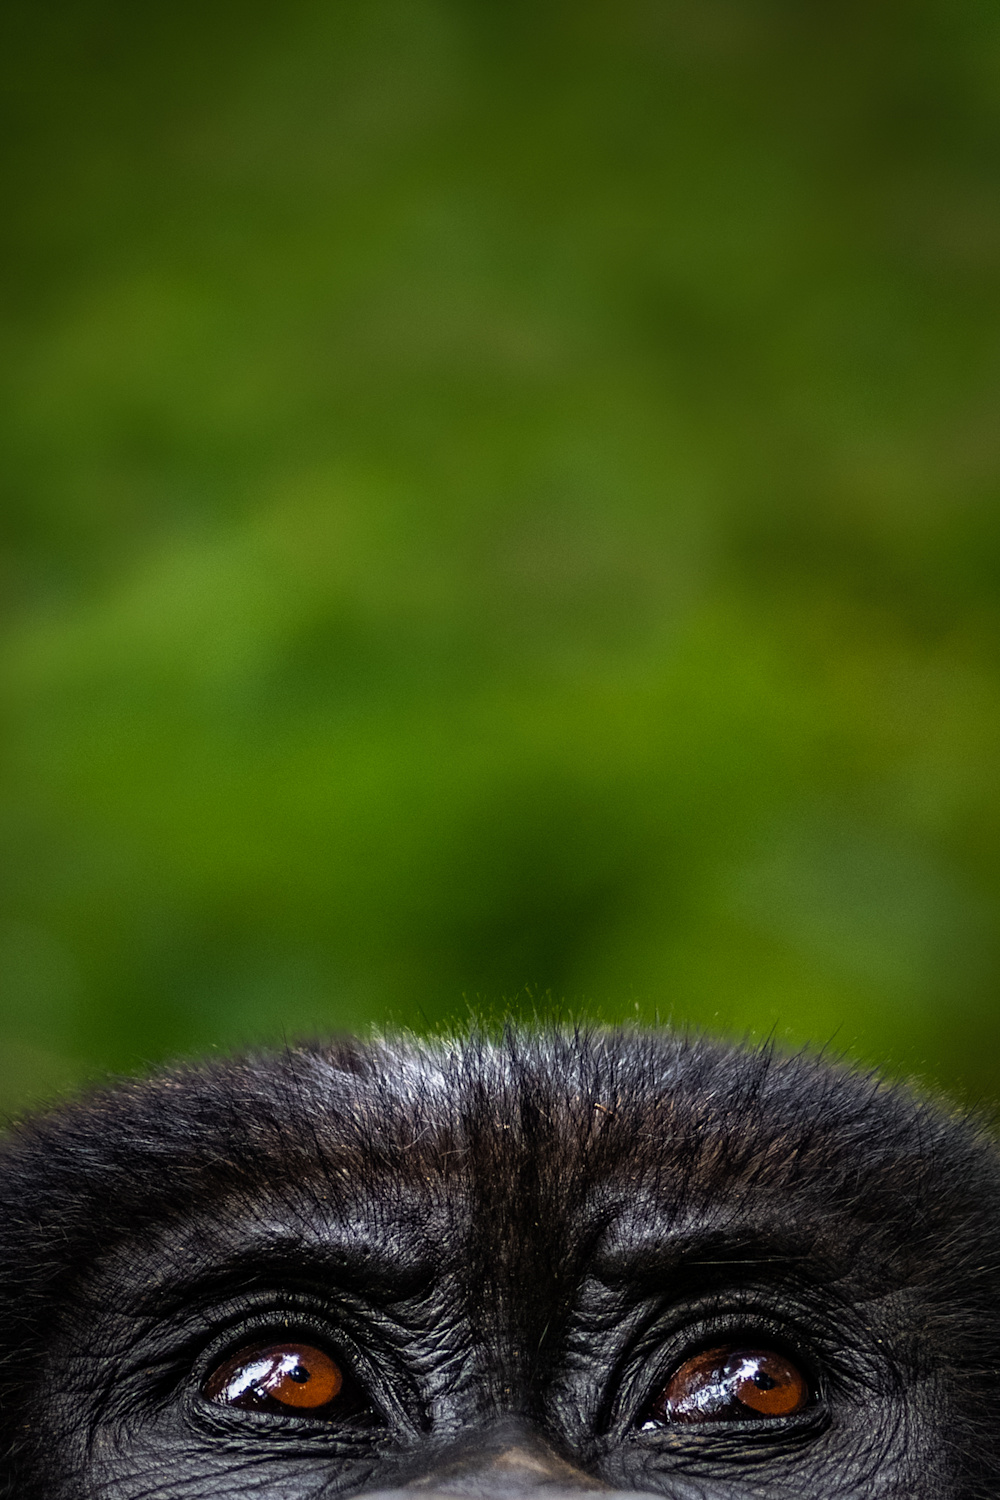
Aperture: Set your aperture to a mid-range value (f/4 to f/5.6) to ensure sharp focus on the gorillas while maintaining some depth of field. If your lens lets you shoot at a dazzling f/2.8, you might be thrilled by the low-light performance, but be warned: while you could get a crystal-clear shot of your subject’s eyes, the rest of their face might be a blur. So, unless you’re aiming for that 'artistic blur' effect, make sure you’re not too close. In addition, shooting at a higher exposure may result in some parts of the shot being over exposed or ‘blown out’ – remember it is easier to edit an image that is under exposed than one that’s over exposed.
Shutter Speed: As a general guideline, your shutter speed should be at least twice the focal length of your lens. For instance, if you're using a 50mm lens, aim for a shutter speed of 1/100th of a second or faster. Similarly, with a 75mm lens, your shutter speed should be no slower than 1/150th of a second. Use a faster shutter speed (1/500s or faster) to freeze the motion of the gorillas, particularly if they are moving or interacting. I would always ensure that the shutter speed is a priority.
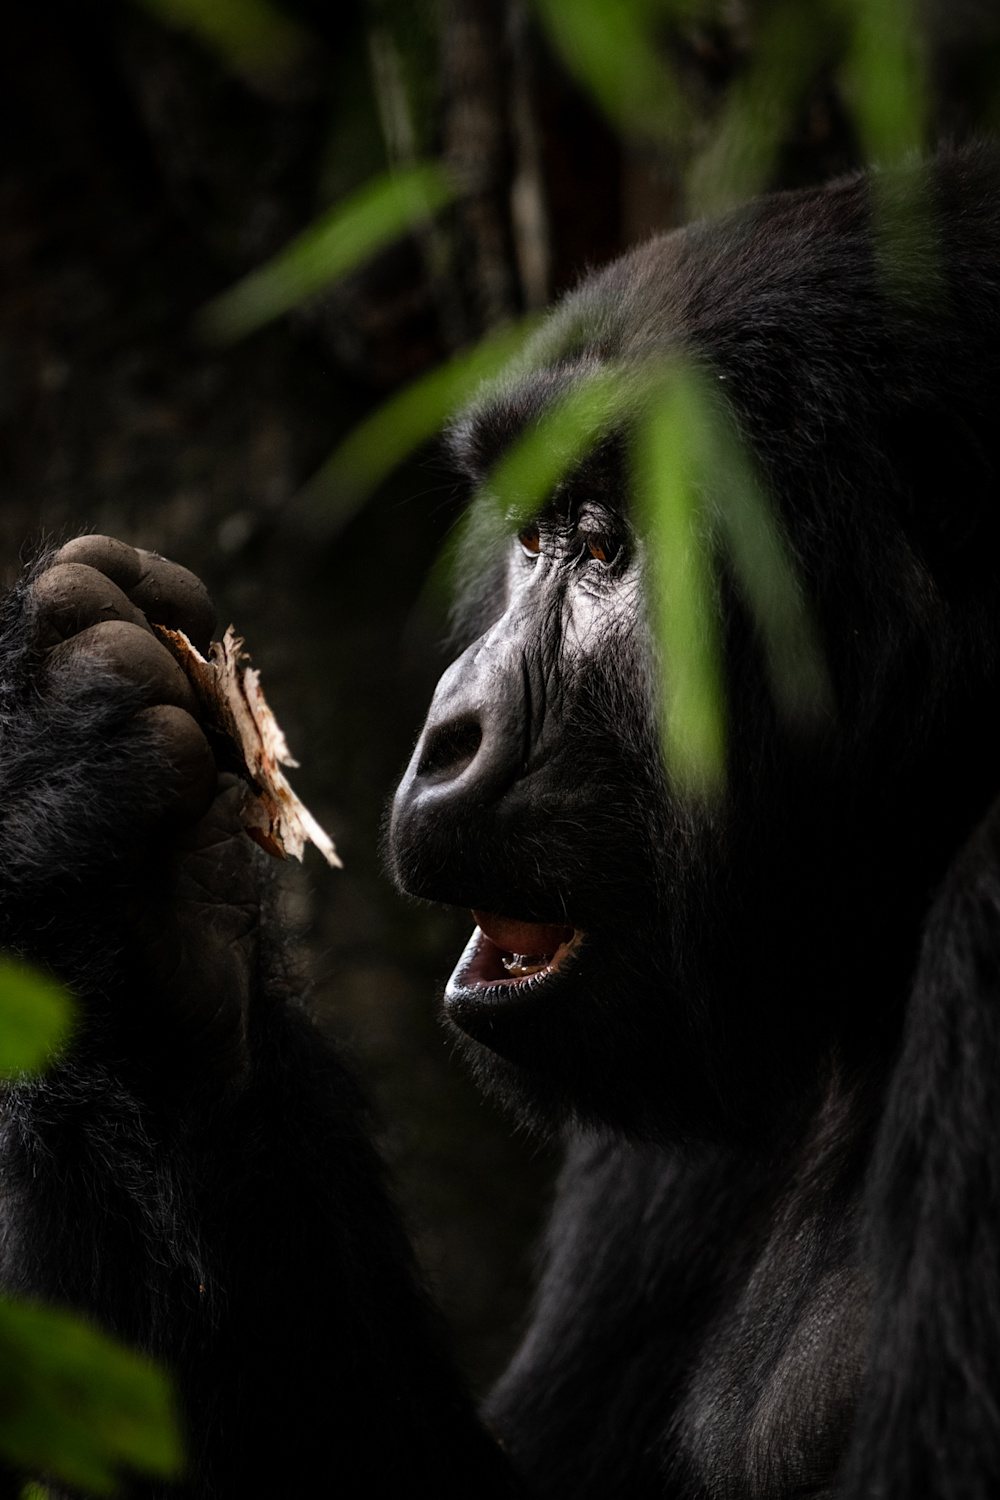
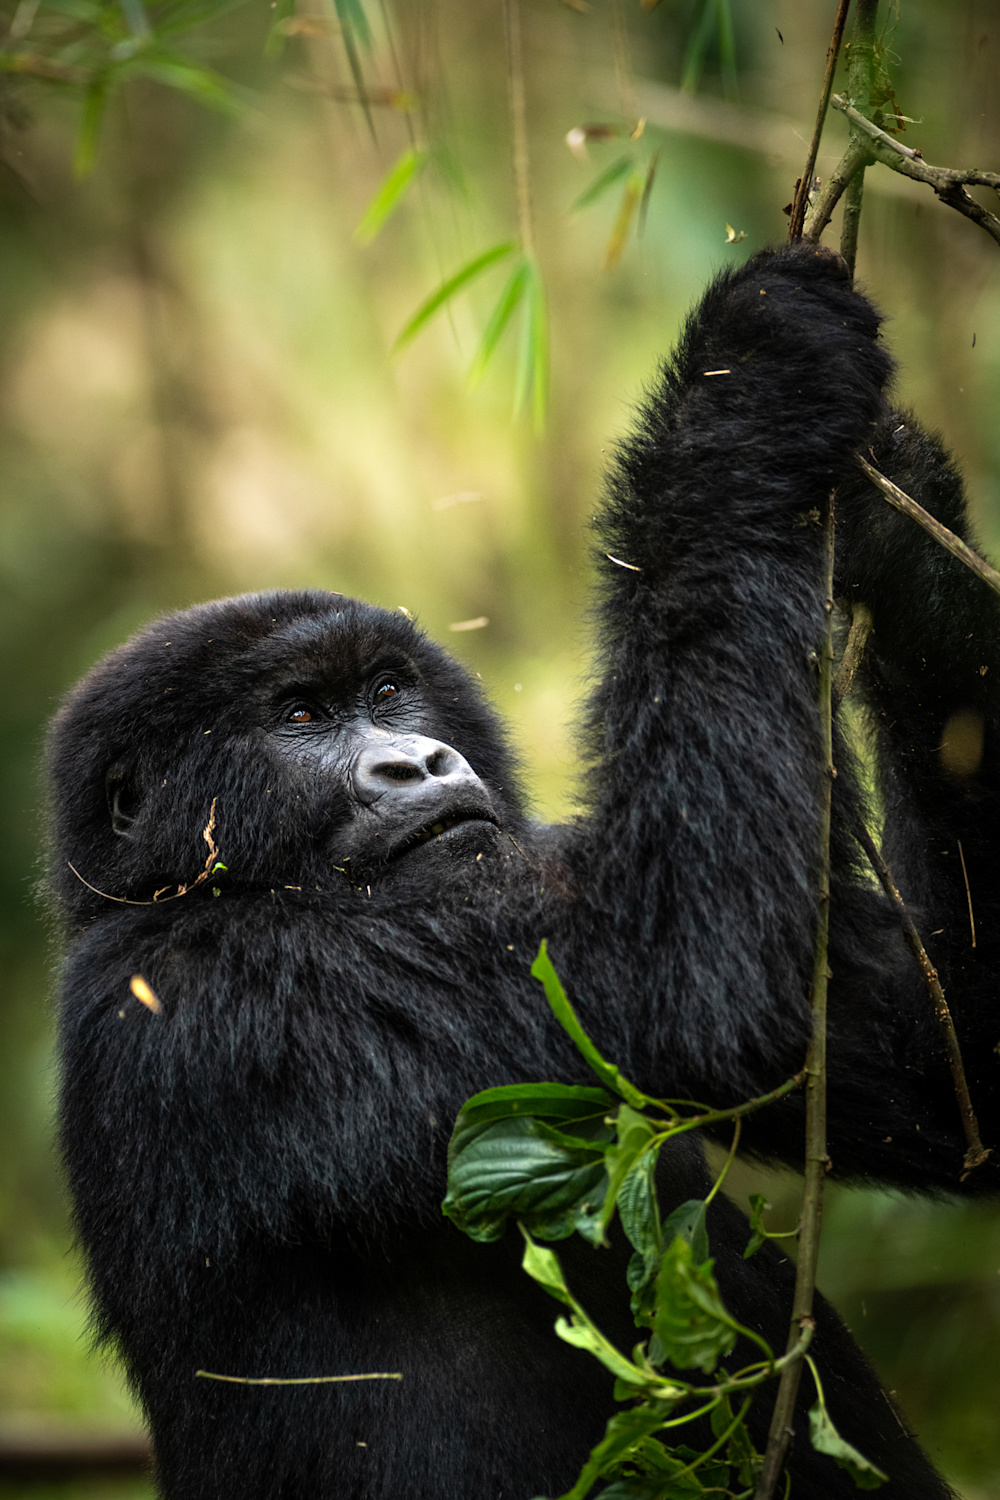
Remember the weather – waterproof your kit and have a cloth handy to keep the lens clean and dry
Weatherproof yourself
With weather that’s as reliable as a soap-opera plot twist, you’ll want to shield your camera and lens with a rain cover. The OP/TECH rain-sleeve lens covers would be your best bet –they're easy to use and keep your gear dry while you enjoy the forest’s wet and wild side.
On a side note, keep a lens-cleaning kit handy to address any smudges or condensation. The rain and humidity can quickly affect your lens, so regular maintenance is crucial if you don’t want to see smudgy marks on your images at the end of your trek.
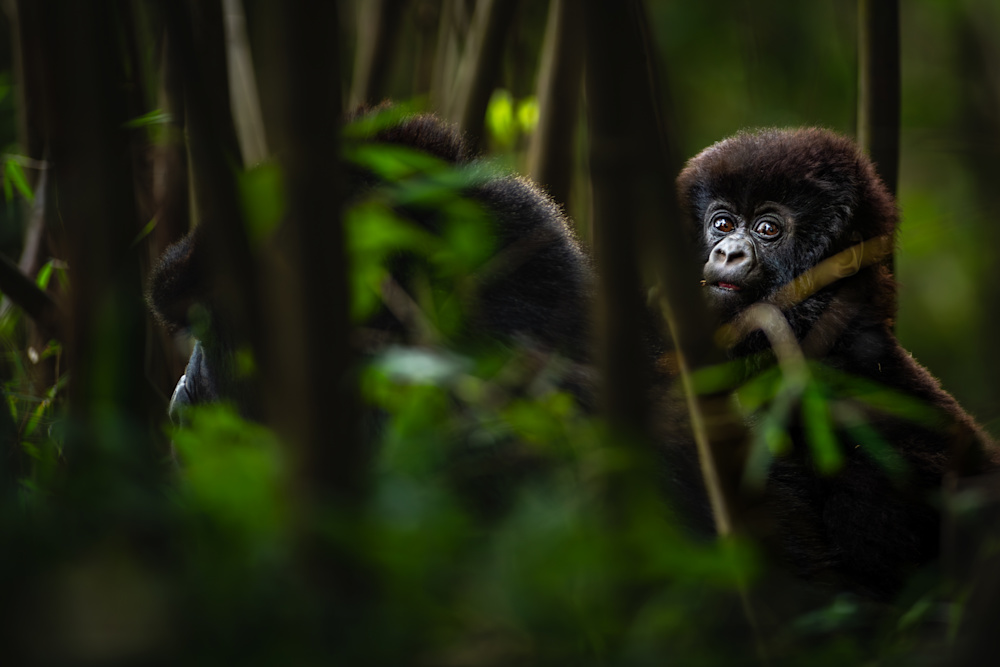
Remember, photography is a waiting game. Be present and enjoy the moment, and your patience will be rewarded
Be polite, and patient
Keep your distance and listen at all times to your Guides and Trackers – their rules aren’t just suggestions, they’re put in place to ensure your and the gorillas' safety and will always place you in the best possible position – you will be surprised just how comfortable you feel amongst these gentle giants. Use a telephoto lens to get up-close shots without actually intruding on their personal space or throwing off their daily routine.
Remember though, wildlife photography is basically a waiting game with a side of setting adjustments. Hang in for the perfect shot and be ready to adapt when the weather or the wildlife throw a curveball – which both can do without warning. With the right gear and a bit of prep, you’ll be set to capture those awe-inspiring moments.
Stay tuned for more tips – we’ll dive deeper into the unique aspects of each location, offering insights and tips to enhance your wildlife photography journey.
